
Creating clean and professional studio recordings requires more than high-quality microphones and audio interfaces. Even the most advanced gear cannot compensate for intrusive external noise. Traffic, neighbors, HVAC systems and outdoor activities can easily leak into your microphone, ruin takes and disrupt your workflow. Preventing external noise in studio environments is one of the most important steps for ensuring clear audio production.
Whether you are building a home studio, improving a commercial recording space or planning a new production room, understanding how to control noise and eliminate unwanted sound is essential. This guide explains how to prevent external noise from affecting studio recordings with practical, actionable strategies. You will learn about soundproofing methods, acoustic treatments, structural upgrades and best practices that help you maintain a quiet and controlled recording environment.
Understanding the Sources of External Noise
Before soundproofing a studio, it helps to understand what types of noise you are dealing with. Each noise source behaves differently and requires specific solutions.

Airborne Noise
Airborne noise refers to sounds that travel through the air before entering your studio. Common examples include voices, televisions, dogs barking, construction activity and passing vehicles.
Airborne noise easily penetrates weak walls, hollow doors and poorly insulated windows. It is also one of the most common problems for home studio owners.
Impact Noise
Impact noise comes from physical vibrations that transfer through structural surfaces. Footsteps, moving furniture, heavy machinery and objects dropping on floors are typical impact noise sources.
Impact noise is often harder to manage because it passes through building materials. Proper isolation methods are required to reduce low frequency vibrations.
Mechanical Noise
Mechanical noise comes from HVAC systems, plumbing pipes, fans and appliances. These vibrations often travel through walls, ducts and floors.
Mechanical noise can introduce rumble, hum or resonance that is noticeable in sensitive microphones. Treating mechanical noise requires a combination of isolation and equipment adjustments.
Key Principles of Studio Soundproofing
Preventing external noise from affecting studio recordings begins with understanding soundproofing principles. Soundproofing differs from acoustic treatment. Acoustic treatment improves the sound inside the room while soundproofing stops sound from entering or leaving the space.
Mass
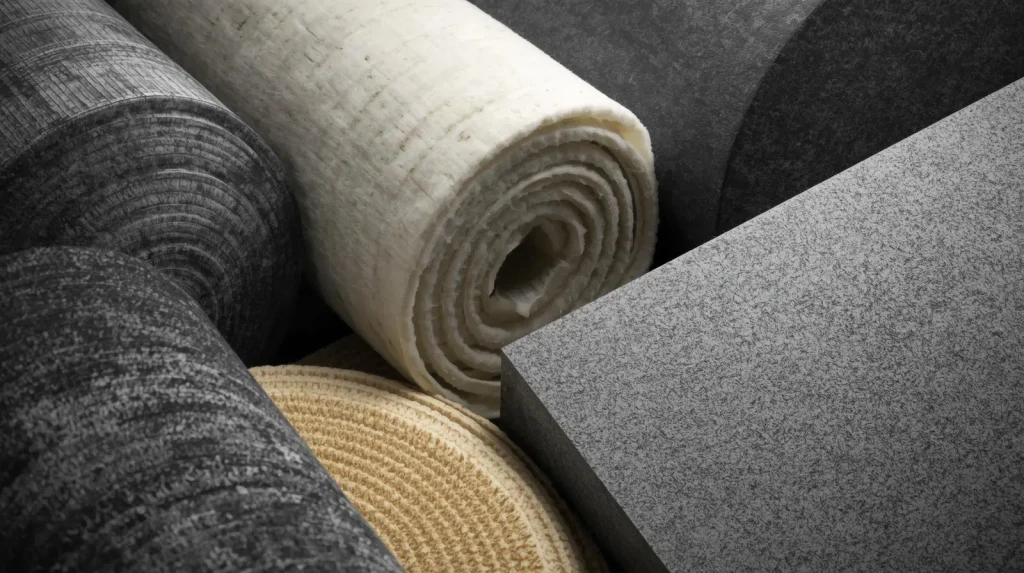
Adding mass helps block airborne noise. Thicker materials and heavier walls reduce sound transmission. Dense materials such as drywall layers, mass loaded vinyl, acoustic boards and concrete are useful for increasing mass.
Decoupling
Decoupling separates surfaces so vibrations cannot pass directly through them. Floating walls, isolated ceilings and resilient channels create physical breaks that prevent impact and structural noise transfer.
Absorption
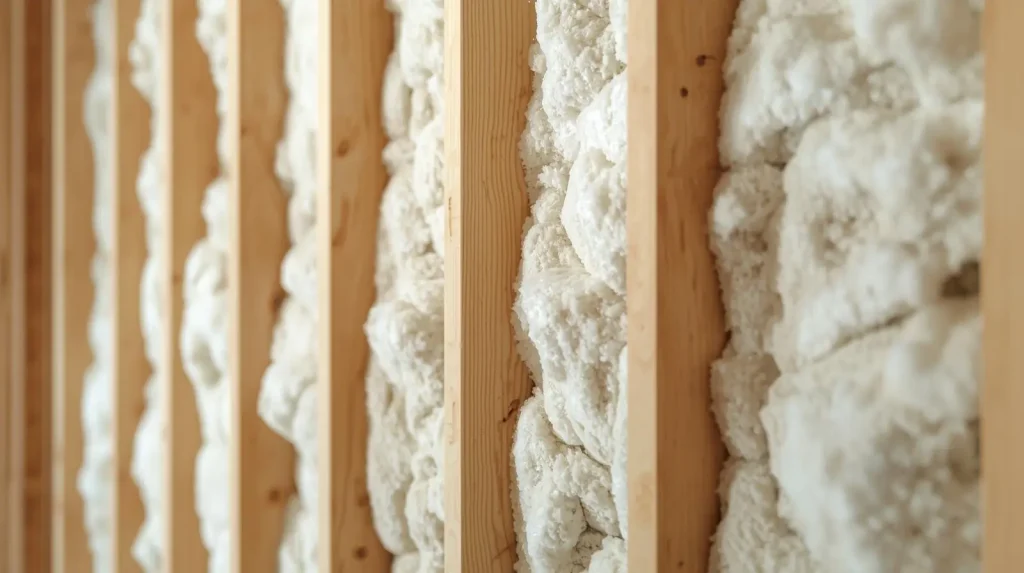
Absorbing sound prevents reflections inside wall cavities and reduces resonances. Mineral wool, acoustic insulation and dense fiberglass batts can improve absorption inside walls and ceilings.
Sealing
Even small gaps let noise leak into studios. Proper sealing around doors, windows, outlets and vents is critical. Acoustic caulk, seals and gaskets help eliminate weak points that compromise the entire system.
How to Soundproof Walls for Better Studio Recordings
Walls are often the largest surface area in a studio, so upgrading them can significantly improve noise isolation.
Add Mass Loaded Vinyl
Mass loaded vinyl is one of the most effective soundproofing materials for studios. Its density blocks airborne noise and its flexibility reduces vibrations. Install it between drywall layers or over existing walls to improve performance without major renovation.
Build Double Stud or Staggered Stud Walls
When possible, constructing walls with separated studs reduces noise transfer. Double stud walls create two independent wall frames with an air gap in between. This technique helps decouple surfaces and minimizes structural vibrations.
Use Multiple Layers of Drywall
If a full rebuild is not possible, adding additional drywall layers helps. Combining drywall with acoustic compound or sound damping adhesives improves mass and reduces resonance across the wall.
How to Soundproof Doors and Windows
Doors and windows are usually the weakest links in any recording space. They require special attention because sound can easily pass through or around them.
Upgrade to Solid Core Doors
Hollow doors offer minimal resistance to sound. A solid core door adds significant mass and helps block outside noise. Adding perimeter seals, drop seals and door sweeps further improves isolation.
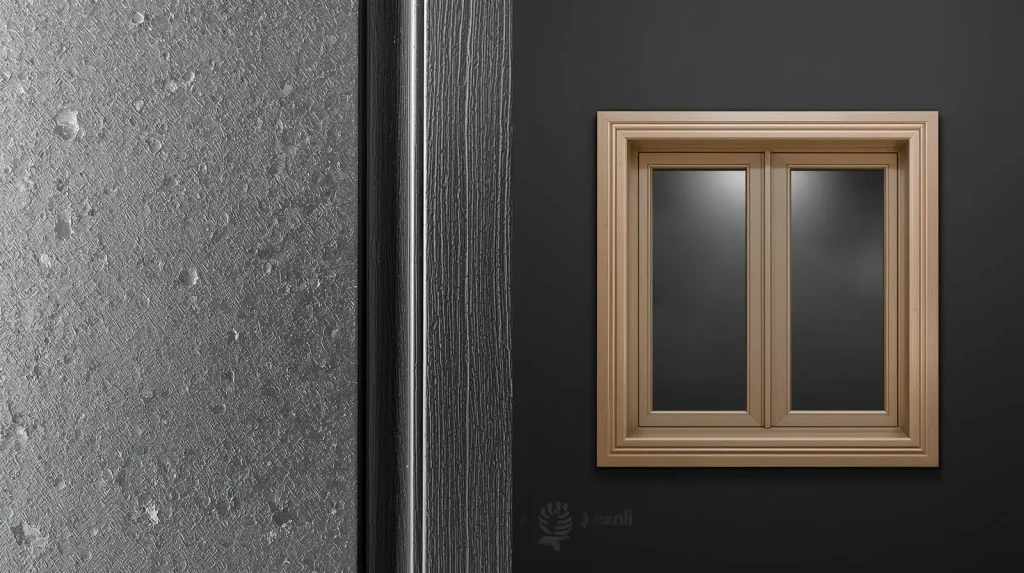
Install Acoustic Windows or Double Glazing
Single pane windows are inadequate for studio spaces. If possible, use dual pane or laminated acoustic glass. Alternatively, you can install a second interior window to create an insulated air gap between layers.
Seal All Gaps and Frames
Window frames often have tiny openings that allow sound leaks. Use acoustic caulk or weatherstripping to seal edges and prevent airflow. This step alone often yields noticeable improvements.
How to Soundproof Floors and Ceilings
Floors and ceilings transfer a lot of impact noise. Proper isolation improves overall studio quietness.
Install Floating Floors
Floating floors sit on isolation pads or acoustic underlayment instead of directly touching the subfloor. This break reduces vibrations and impact noise. Rubber underlayment, foam barriers and specialized acoustic mats are commonly used.
Use Acoustic Underlayment
Even if a fully floating floor is not possible, underlayment adds a cushion layer that absorbs vibrations. It works well for home studios with upstairs neighbors or foot traffic issues.
Build an Isolated Ceiling
If noise comes from above, consider constructing a resilient channel ceiling or using sound isolation clips. These systems create a gap between the structural ceiling and drywall to prevent vibration transfer.
Managing HVAC and Mechanical Noise
Studio microphones are highly sensitive to low frequency rumble and subtle vibrations. HVAC noise can easily ruin otherwise perfect recordings.
Use Vibration Dampeners
Place vibration dampening pads under air handlers, compressors and fans to reduce mechanical noise transfer.
Install Flexible Duct Connectors
Rigid HVAC ducts can transfer vibration directly into studio walls. Flexible connectors help isolate sound and reduce mechanical humming.
Reduce Airflow Noise
Oversized vents, quiet fans and insulated ducts help reduce airflow noise. Slowing down airflow while maintaining proper ventilation often results in a quieter system.
Additional Tips for Minimizing External Noise in Studio Recordings
Soundproofing is a combination of structural improvements and smart recording practices. These additional tips help keep your recordings clean.
Use Directional Microphones
Cardioid and hypercardioid microphones help reduce off-axis noise. Positioning the mic away from noise sources increases clarity.
Record During Quiet Hours
If you are working in a residential area, consider recording at times when traffic and neighbor activity is lower.
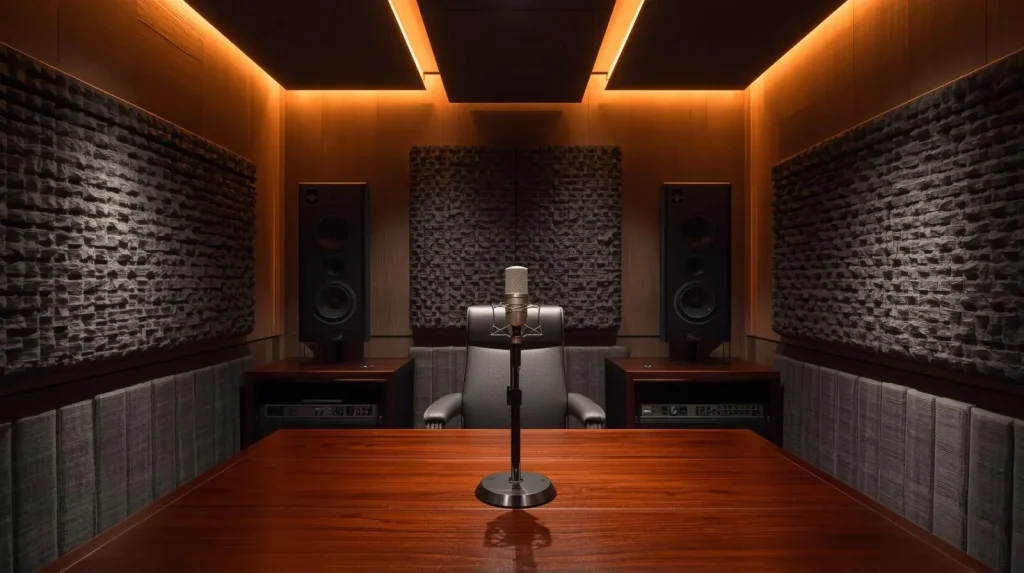
Create a Soundproof Booth
A dedicated isolation booth helps reduce external noise and prevents ambient reflections. It is ideal for vocalists, podcasters and voiceover professionals.
Use Acoustic Curtains or Blankets
While not a complete soundproofing solution, heavy acoustic curtains can help reduce minor noise leaks around windows and doors.
Why People Choose Soundkrafted.com for Reliable Soundproofing Solutions
When sound quality matters, choosing the right soundproofing partner makes a tremendous difference. At soundkrafted.com, clients trust our expertise because we combine high performance materials with professional guidance tailored to each unique environment. Whether you are setting up a home studio, designing a podcast room or upgrading a commercial recording facility, we provide solutions that focus on real performance and long term reliability.
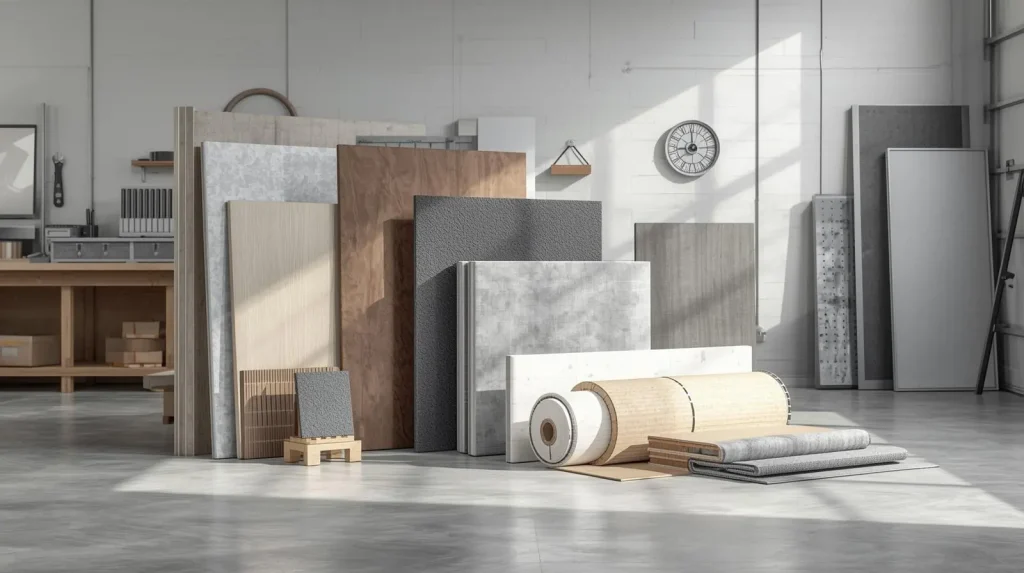
We offer a wide range of soundproofing products designed for studios, offices, home theaters and industrial spaces. Our materials include acoustic panels, bass traps, sound insulation, mass loaded vinyl, door seals and customized treatments based on measured results. Customers value our commitment to quality and consistent support from planning to installation.
By working with soundkrafted.com, you receive reliable advice, premium soundproofing materials and industry backed techniques that help you create a quieter and more controlled recording environment.
Conclusion and Call to Action
Preventing external noise from affecting studio recordings requires a combination of proper planning, strategic soundproofing and correct material selection. By adding mass, sealing gaps, isolating structures and managing mechanical noise, you can create a studio environment that supports clear and consistent recordings. Simple steps like upgrading doors, improving wall insulation or installing acoustic windows can dramatically improve noise control.
Whether you are building a new studio or improving an existing space, taking action now will help you avoid unwanted background noise and create professional sounding recordings. If you need guidance or want high quality soundproofing materials, visit soundkrafted.com to explore solutions tailored to your specific needs.