
Creating a professional studio requires more than high-quality microphones, premium monitors and the latest editing software. Even the best equipment cannot compensate for poor acoustics or outside noise creeping into your recordings. This is why effective soundproofing techniques have become essential for music producers, podcasters, audio engineers and content creators who want to achieve clean, accurate and consistent sound.
Professional studio soundproofing is all about controlling noise transmission and improving internal acoustics. It involves absorbing unwanted reflections, blocking external noise and reducing vibration transfer between structural surfaces. When these elements come together, a studio becomes a reliable environment for mixing, mastering and recording high quality audio.
This guide covers the top soundproofing techniques used in professional studios today. It explains why each method matters, how it improves sound and what to consider during installation. Whether you are building a new studio or upgrading an existing one, these techniques will help you create a controlled and acoustically balanced space.
Understanding Soundproofing vs Acoustic Treatment
Before exploring specific methods, it is important to understand the distinction between soundproofing and acoustic treatment. The two terms are often confused, but they address different issues.
Soundproofing
Soundproofing focuses on blocking noise from entering or leaving the room. The goal is to contain sound and prevent outside disturbances. Techniques include adding mass, sealing gaps and creating structural isolation.
Acoustic Treatment
Acoustic treatment controls sound reflections inside the room. This improves clarity and reduces echo, flutter and reverb. Methods include adding absorbers, diffusers and bass traps.
For a professional studio to function at its best, both aspects must be addressed.
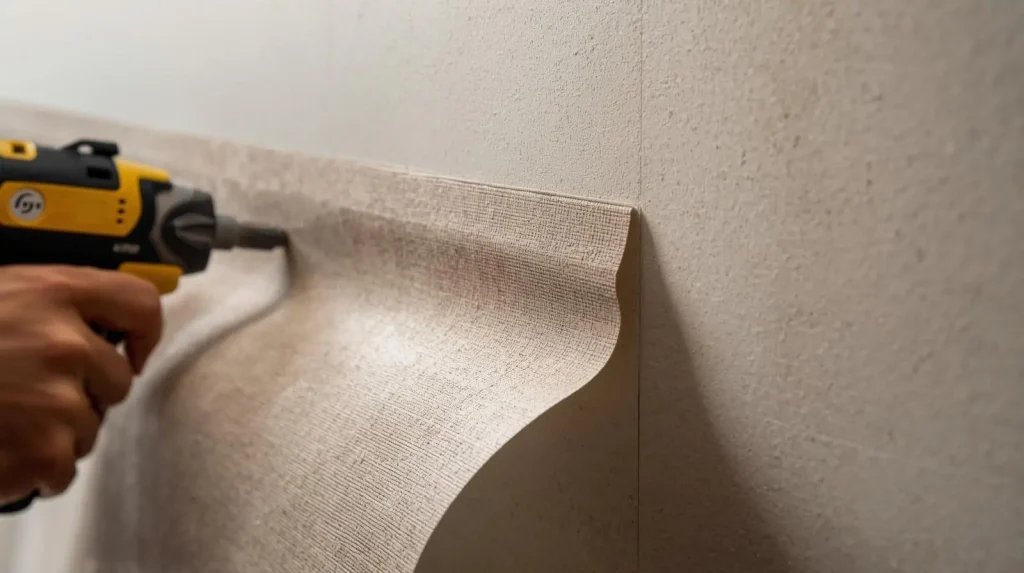
Adding Mass: Increasing Density for Better Sound Isolation
One of the most effective soundproofing principles is adding mass to walls, ceilings and floors. Dense materials reduce sound transmission because sound waves have difficulty passing through heavy, thick surfaces.
Best materials for adding mass
- Mass loaded vinyl (MLV)
- Multiple layers of drywall
- Cement board
- Acoustic panels with high density cores
- Specialty soundproof boards
MLV is particularly popular in professional studios because it is flexible, extremely dense and relatively easy to install. By combining two layers of drywall with MLV in between, you can significantly boost noise isolation performance.
Creating a Room Within a Room
One of the top soundproofing techniques for professional studios is complete structural decoupling. This method involves separating the inner studio walls from the building’s original wall structure. The technique reduces vibration transfer and prevents structural noise from leaking into the studio.
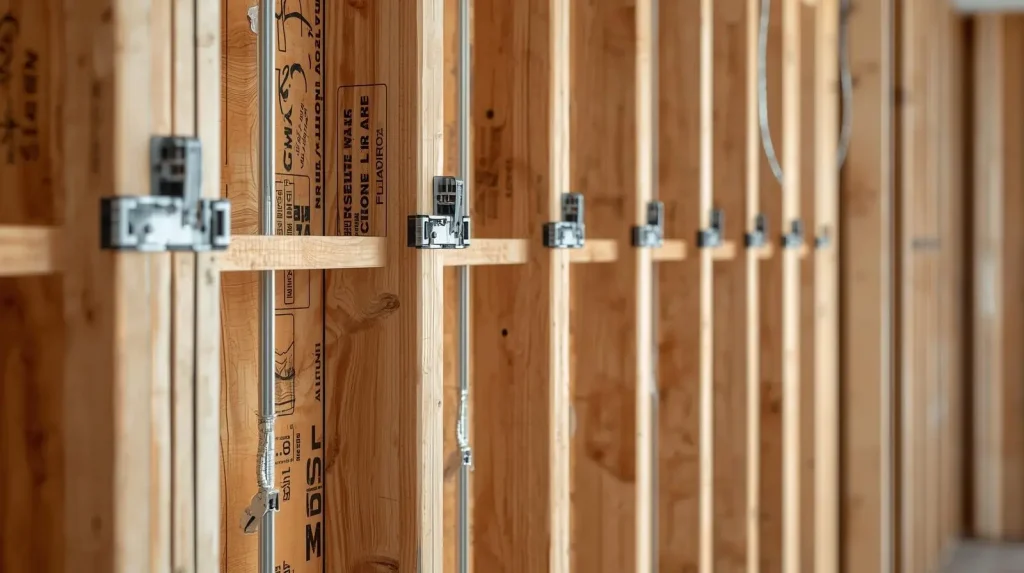
Common decoupling systems
- Staggered stud walls
- Double stud walls
- Resilient channels
- Isolation clips with hat channels
These systems create an air gap between two surfaces. The gap prevents vibrations from traveling directly between walls. When combined with insulation and dense surfaces, the results are extremely effective for professional setups.
Using Acoustic Insulation Inside Walls
Acoustic insulation is essential for preventing sound from traveling through walls and ceilings. It does not block noise on its own but improves the overall performance of soundproof assemblies.
Recommended insulation materials
- Rockwool or mineral wool insulation
- Acoustic fiberglass insulation
- High density sound absorbing batts
Mineral wool is widely favored for studio construction due to its density, fire resistance and ability to absorb a broad range of frequencies.
Sealing Gaps and Cracks: Preventing Sound Leaks
Even the best soundproofing work can fail if small gaps are left unsealed. Sound passes through openings with ease, so sealing becomes a crucial step in professional studio construction.
Areas to seal
- Door frames
- Window edges
- Electrical outlets
- HVAC vents
- Baseboards
- Lighting fixtures
Materials for sealing
- Acoustic caulk
- Door seals and sweeps
- Acoustic putty pads
- Foam backer rods
Air gaps are the enemy of sound isolation, so careful attention to detail makes a large difference.
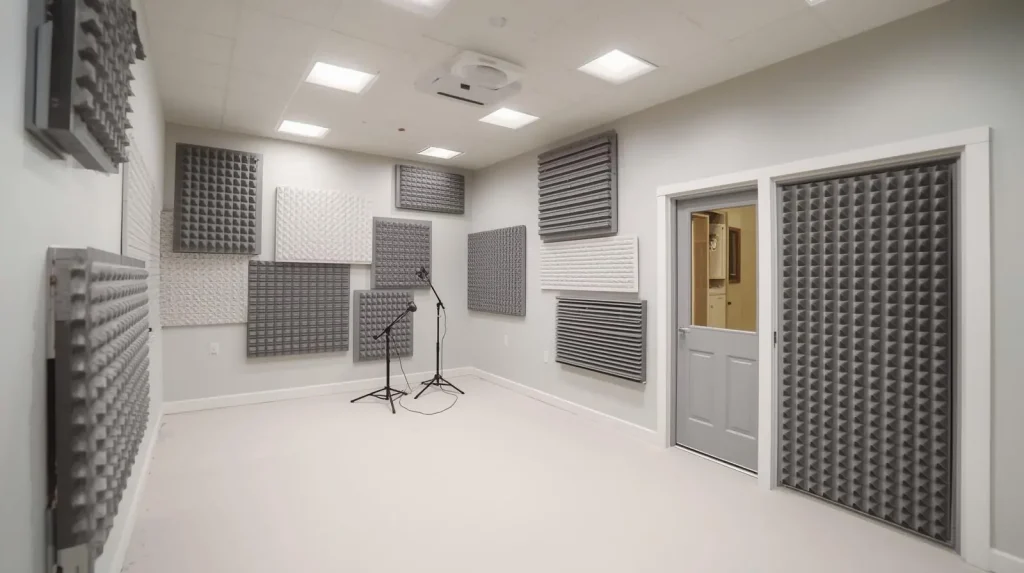
Soundproofing Doors and Windows
Doors and windows are usually the weakest points in a studio. Standard residential doors are hollow and allow sound to pass through easily. Windows can also leak noise if they are thin or poorly installed.
Upgrading studio doors
- Use solid core doors
- Install automatic door bottoms
- Add perimeter seals
- Add a second door if necessary for better isolation
Improving window insulation
- Use double glazed or laminated glass
- Install acoustic window plugs
- Add soundproof curtains for additional absorption
Many professional studios use two layers of thick glass separated by a wide air gap to reduce noise transfer.
Floating Floors for Vibration Control
Impact noise from footsteps, machinery or other activities can create low frequency vibrations that travel through floors and walls. Floating floors are designed to minimize these vibrations by creating a separate, isolated flooring surface.
Common floating floor systems
- Rubber or neoprene isolation pads
- High density underlayments
- Layered plywood on top of isolation materials
Floating floors are particularly useful in studios built in multi story buildings.
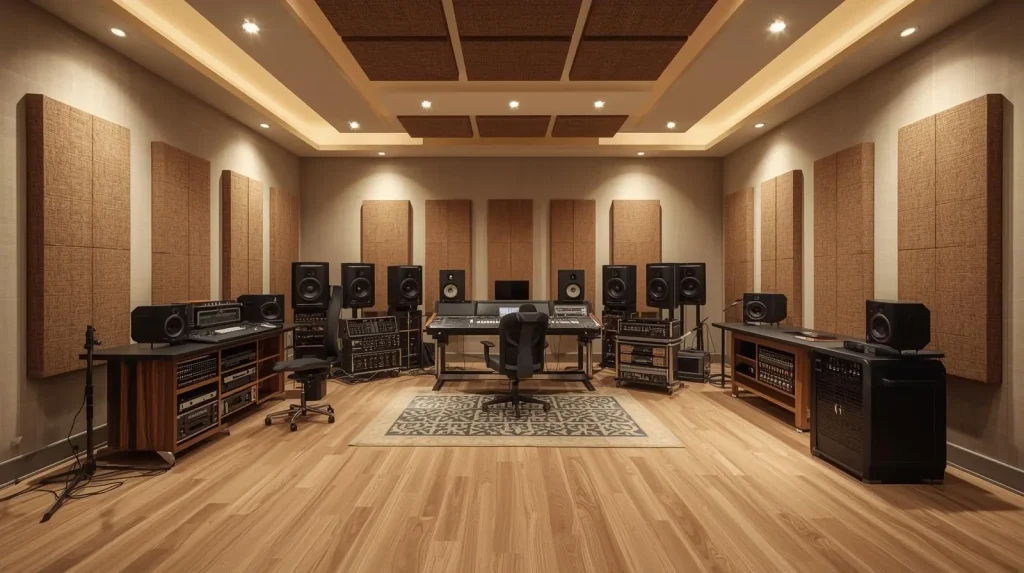
Enhancing Interior Acoustics with Treatment Panels
Once noise isolation is handled, the next step is improving internal acoustics. A professional studio should have controlled reflections to achieve accurate sound monitoring.
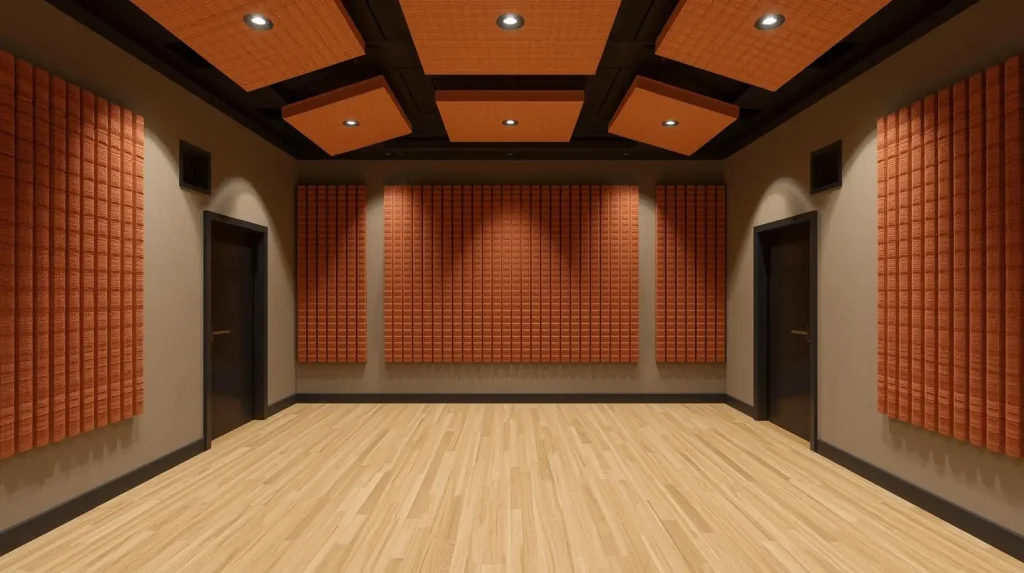
Essential acoustic treatment elements
Absorption Panels
These panels reduce mid and high frequency reflections, improving clarity.
Bass Traps
Low frequencies often build up in corners. Bass traps absorb these problem frequencies to create a balanced sound.
Diffusers
Diffusers scatter sound waves across the room to prevent harsh reflections or dead spots.
Where to place acoustic treatments
- First reflection points
- Rear wall behind the listener
- Corners for bass traps
- Ceiling cloud above the mixing desk
A well treated studio creates a neutral listening environment which is essential for accurate mixing and mastering.
Using Mass Loaded Vinyl and Soundproof Underlayments
MLV and specialized underlayments provide additional isolation between structural layers. They are often added to walls, ceilings and floors to reduce airborne noise transmission.
Advantages of MLV
- High density for better isolation
- Flexible and easy to install
- Versatile for various surfaces
MLV is frequently combined with drywall, plywood or subfloor layers to enhance performance.
HVAC and Ventilation Soundproofing
Ventilation systems can introduce noise into an otherwise well soundproofed room. Sound travels easily through ducts, so controlling ventilation noise is essential.
HVAC soundproofing methods
- Installing acoustic duct liners
- Using flexible ducts to reduce vibration
- Adding silencers or mufflers to air pathways
- Isolating HVAC units from walls and floors
Quiet airflow is critical for recording sessions where sensitive microphones capture every detail.
Why People Choose SoundKrafted.com for Studio Soundproofing
When building a professional studio, selecting the right service provider is just as important as choosing the right materials. At SoundKrafted.com, clients trust us because we combine technical expertise with high performance soundproofing solutions that are tailored to different spaces.

What sets SoundKrafted.com apart
- Professional grade materials for studio level sound isolation
- Customized acoustic designs based on the layout and purpose of the room
- Installation services performed by trained technicians
- High quality soundproofing products including MLV, mineral wool panels, acoustic doors and more
- Detailed assessments to ensure the best noise control strategy
- Experience working with music producers, podcasters, home studio owners and commercial studios
Our team understands how sound behaves, how to eliminate noise leaks and how to create acoustically accurate environments that meet industry standards. Whether you need a full studio build or only specialized materials, SoundKrafted.com provides reliable results that improve sound quality and performance.
Conclusion and Call to Action
Professional studio soundproofing is a precise process that involves multiple techniques such as adding mass, decoupling surfaces, sealing gaps, installing dense insulation and controlling internal acoustics through absorption and diffusion. When these techniques are implemented correctly, they create a space that delivers clean recordings and accurate sound monitoring.
If you are planning to upgrade your studio or build a new one, consider partnering with a soundproofing specialist. The right design can transform your space and ensure your audio quality meets professional standards.
To get expert guidance, high quality materials and reliable installation services, visit SoundKrafted.com. Take the next step toward creating a fully soundproofed, acoustically optimized studio environment.