
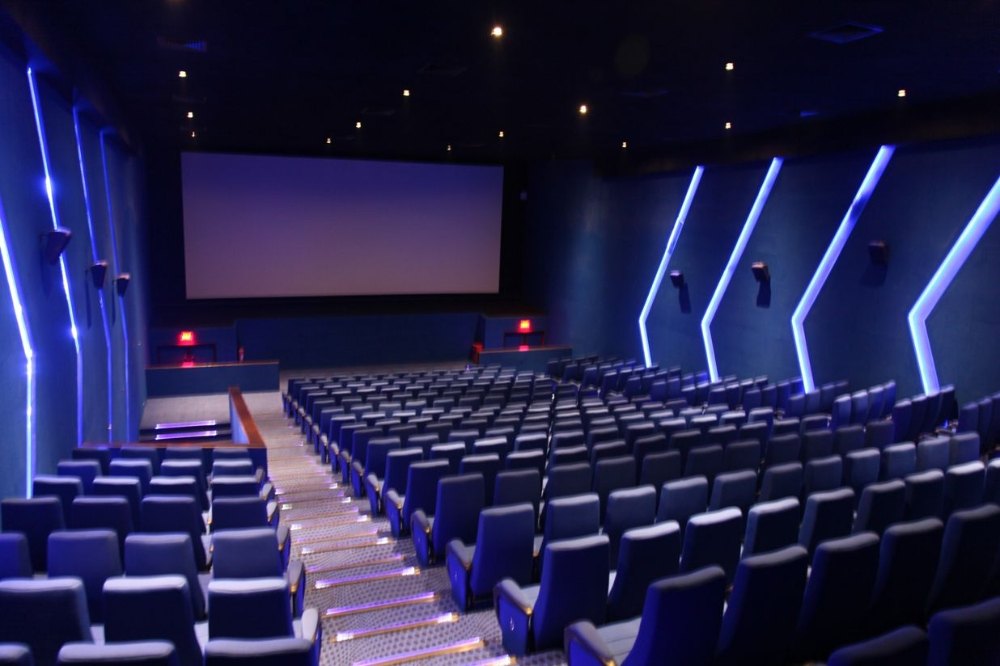
Creating a dedicated cinema room at home or in a commercial setting can be a dream come true for movie lovers. But one of the biggest challenges—and often overlooked necessities—is proper soundproofing. A cinema room that leaks sound can disturb adjacent rooms or neighbors; worse, poor acoustics can ruin the immersive experience you intended. This guide walks you through everything you need to know to design and build a high-performance, soundproof cinema room.
Why Soundproofing Matters in a Cinema Room
Preventing Noise Leakage
When you crank up the volume for an action scene or a dramatic musical score, the sound energy doesn’t stop at the walls. Without proper isolation, sound travels—through walls, ceilings, floors, ducts, doors, windows, and structural elements. Poorly treated rooms allow sound to bleed into other spaces, triggering complaints and reducing enjoyment.
A well soundproofed room keeps your audio contained and prevents external noise (street traffic, HVAC hum, neighbor chatter) from intruding into your cinema environment.
Enhancing Audio Quality
Paradoxically, soundproofing is not just about blocking sound—it’s also about improving the internal acoustics. Reverberations, echoes, standing waves, and uncontrolled reflections can smudge dialogue clarity and reduce the impact of sound effects. When you reduce external noise and structural vibration, your system’s subtle details become audible at normal listening levels.
In a properly treated room, a whisper is as audible as a thunderous explosion—without needing to overdrive volume.
Core Principles of Soundproofing
Soundproofing is a technical discipline. Here are the core principles you must understand before diving into materials and construction techniques:
- Mass — Heavier, denser materials resist sound transmission better (e.g., multiple layers of drywall, mass-loaded vinyl).
- Damping — Materials or layers that convert vibration energy to heat reduce resonances and ringing (e.g. viscoelastic damping layers).
- Decoupling — Creating separation or isolation between structural elements prevents sound vibration from bridging across (e.g. double stud walls, resilient clips).
- Absorption — Inside the room, acoustic absorption (panels, foam, bass traps) helps control reflections, reverb, and standing waves.
- Sealing & Flanking — Even a tiny gap or conduit can leak sound. Careful sealing of joints, penetrations, doors, windows, HVAC ducts is essential.
These methods are often used in combination to achieve the required level of isolation.
Design Strategy: Room-in-Room (Box-in-Box)
One of the best approaches in cinema design is the room-in-room (or box-in-box) concept. Recording studios are designed to be soundproof so that unwanted external noises do not interfere with the recording. You build a secondary structure floating within the existing structure. That inner box (walls, ceiling, and sometimes the floor) is isolated from contact with the outer shell (existing building), breaking mechanical vibration paths.
Key elements include:
- Floating / decoupled floor (e.g. underlayment, neoprene pads, resilient floor hangers)
- Isolated walls via resilient channels, hat rails, or separate stud walls
- Resilient ceiling system using clips and channels
- Insulated cavity filled with stone wool or dense fiberglass to absorb energy
- Multiple layers of rigid materials (e.g. multiple gypsum boards, damping cone layers)
This design helps reduce structure-borne noise transmission and maximizes performance.
Step-by-Step Construction for a High-Performance Cinema Room
Below is a recommended workflow.
1. Room Planning & Layout
- Choose the room shape & dimensions carefully. Avoid perfect cubes or equal ratios—uneven dimensions help mitigate room modes.
- Plan for equipment, wiring, HVAC, and access. Decide speaker positions, projector, screen size, and seating before finalizing the structure.
- Mind the service penetrations. HVAC ducts, conduit runs, and cables must be considered early, as they are frequent leak paths.
2. Floor Treatment
- Install a floating floor. Use neoprene pads, rubber underlay, suspended floor, or decoupled subfloor if needed.
- Mass & damping layers. You can use multiple layers of plywood or MDF combined with damping mats.
- Finish layer (carpet, rugs). On top of the floating system, a carpet or thick rug further aids absorption.
3. Wall Construction
- Frame a new inner wall. Either double stud, staggered stud, or use resilient channel / hat channel systems.
- Fill cavities with dense insulation. Use mineral wool, rock wool, or acoustical insulation for both thermal and acoustic damping.
- Apply multiple layers of drywall. Use offset seams, and ideally a damping compound or viscoelastic layer between layers.
- Add mass-loaded vinyl (MLV) or other barrier layers if needed in between layers.
4. Ceiling / Roof Treatment
- Decoupled ceiling. Use resilient clips and channels to hang a new ceiling below the structural slab/joists.
- Insulate above the ceiling. Fill the cavity with mineral wool or similar.
- Apply multiple layers of drywall. Use damping layers as well.
- Avoid using recessed fixtures that penetrate the structure; use surface-mounted or sconces instead to minimize sound paths.
5. Doors & Windows
- Use a solid core, acoustically rated door. Install door seals, sweeps, and perimeter gasketing.
- Consider double-door vestibule constructs for high isolation.
- Window treatments. Use thick acoustic glazing, laminated or double-pane, with airtight seals. Optionally mount window “plugs” for further suppression.
6. HVAC & Ductwork Isolation
- Use long duct runs with bends to attenuate sound.
- Duct silencers or mufflers. Install acoustic duct baffles or lined duct sections.
- Vibration decoupling. Use flexible connectors between mechanical units and duct lines.
7. Sealing & Penetration Treatment
- Seal all seams, joints, cable penetrations, and junctions with acoustic caulk.
- Use grommets, oversized holes with sealant, or acoustic putty for electrical boxes.
- Isolate wall-mounted equipment using backboxes or decoupled mounting.
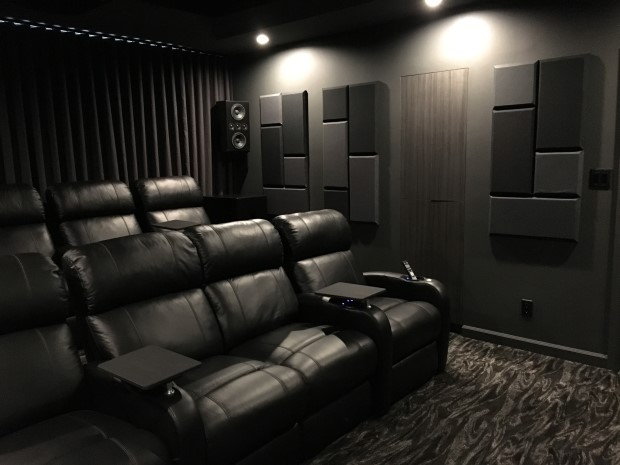
8. Acoustic Treatment & Finishing
- Bass traps. Place thick absorptive traps in corners (vertical, ceiling-to-floor).
- First reflection panels. Use absorption panels at reflection points on side walls, ceiling, and rear wall.
- Diffusers / scattering elements. For rear walls or ceilings to break up reflections without over-deadening.
- Balance absorption and liveliness. Avoid over-damping; some reflections contribute to a natural, dynamic sound.
- Decor & finishes. Use acoustically transparent screens, heavy curtains, rugs, and furniture to blend aesthetics with function.
Performance Metrics & Testing
Sound Transmission Class (STC) / Rw Ratings
Aim for wall/ceiling systems with an STC or Rw of 55–60 dB or higher, depending on how critical and loud your installations.
Reverberation Time (RT60)
Measure or simulate RT60 (time for a sound impulse to decay by 60 dB). A well-tuned cinema room may aim for ~0.4–0.6 seconds or thereabouts across the speech/music band, but tolerances depend on room size and taste.
Listening Tests & Room Correction
Finally, use calibrated test tones and measurement microphones to spot peaks, dips, and mode behavior. Use room correction (e.g. DSP, EQ) to smooth the response within reason. Multiple subwoofers help reduce bass mode issues.
Common Pitfalls & How to Avoid Them
| Pitfall | Consequence | Mitigation |
| Incomplete sealing (gaps, penetrations) | Sound leaks, reduced isolation | Carefully detail and seal all joints, cabling, and conduits |
| Rigid connections (shared framing) | Sound bridging between shell and inner box | Use isolated framing, resilient clips, floating systems |
| Over-damping interiors | The room becomes “dead” and lifeless | Maintain a mix of absorption and diffusion |
| Neglecting ceiling/floor | Sound escapes above/below | Don’t treat walls only—treat ceiling and floor equally |
| Underestimating HVAC/duct noise | Noise through ducts undermines isolation | Use lined ducts, bends, silencers, decoupling |
| Poor planning for equipment/space | Rework, interference, weak acoustic zones | Finalize layout early, allow space for structure and wiring |
Cost, Timeline & ROI
Cost can vary widely depending on the quality of materials, level of isolation, room size, and labor. For a dedicated home cinema, expect soundproofing and acoustic treatment to represent 25–50% of the total system cost (equipment included) or more.
Timeline can range from weeks to months depending on demolitions, structural modifications, curing/drying times, and finishing.
Return on investment (ROI) is perceived, not purely financial. A well-executed cinema room:
- Delivers unmatched immersive audio
- Prevents complaints and rework
- Increases property appeal
- Ensures equipment performance is fully leveraged
If acoustical quality is compromised, the performance gains from high-end speakers and processors may be wasted.
Conclusion
A state-of-the-art cinema room demands more than just a big screen and powerful speakers. Soundproofing and acoustics are the foundation of the cinematic experience. By applying principles of mass, damping, decoupling, absorption, and sealing—especially via a room-in-room design—you can create a space that’s both immersive and neighbor-friendly.
For SoundKrafted.com, your content can emphasize how your team can deliver turnkey acoustical solutions, from design to installation, backed with measurable performance results.