
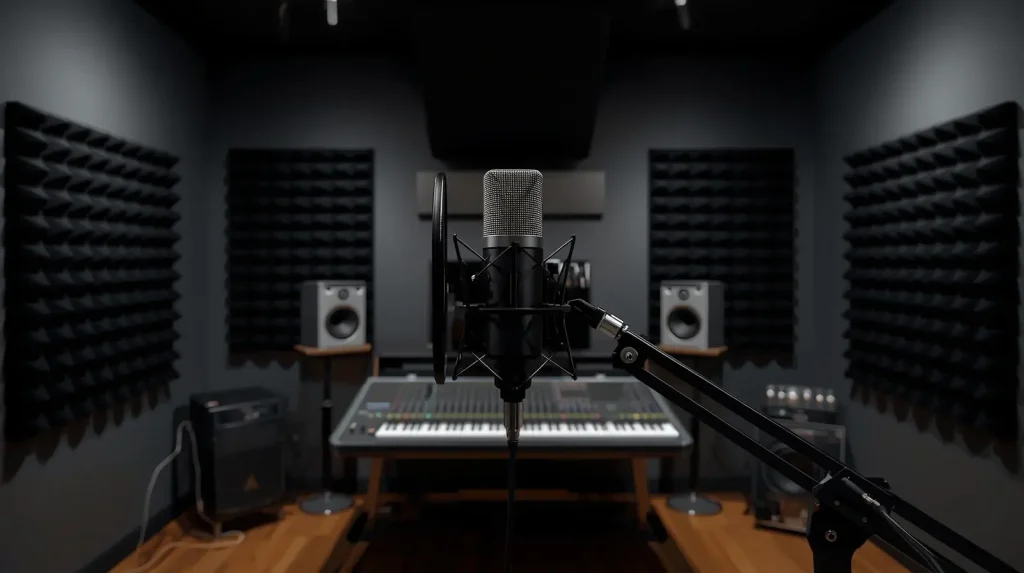
Creating music or producing audio content requires more than just great equipment. The environment you work in plays a huge role in the quality of your output. Studio soundproofing is one of the most important steps to ensure clean recordings and a distraction-free space. Whether you are building a home studio or upgrading a professional space, soundproofing helps control noise leakage, reduces unwanted reflections, and creates a controlled acoustic environment.
In this guide, we will break down everything you need to know about soundproofing a studio, from core principles to practical solutions.
Why Soundproofing a Studio Matters
Soundproofing is often confused with acoustic treatment, but the two serve different purposes.
- Soundproofing keeps sound from entering or leaving the room.
- Acoustic treatment improves how sound behaves inside the room.
Without soundproofing, external noises like traffic, neighbors, or HVAC systems can easily bleed into your recordings. Similarly, your loud mixes can disturb others in the same building. For podcasters, musicians, and producers, soundproofing is essential for professional-grade work.
Key Principles of Studio Soundproofing
Understanding the science behind soundproofing makes it easier to design an effective setup.
Mass is Your Best Friend
The heavier and denser the walls, floors, and ceilings, the harder it is for sound waves to pass through. Materials like concrete, dense drywall, or mass loaded vinyl are commonly used to increase mass.
Decoupling Reduces Vibrations
When two surfaces are connected, vibrations travel freely between them. Decoupling creates a break in the connection, stopping vibrations from spreading. Floating floors, resilient channels, and isolated wall framing are examples of decoupling.
Absorption Traps Airborne Noise
Porous materials such as mineral wool and acoustic insulation absorb sound energy before it can transfer through structures. This is especially useful in wall cavities and ceilings.
Sealing Gaps is Essential
Even small gaps around doors, windows, or vents can allow sound to escape. Using acoustic caulk, weatherstripping, and door sweeps ensures a complete seal.
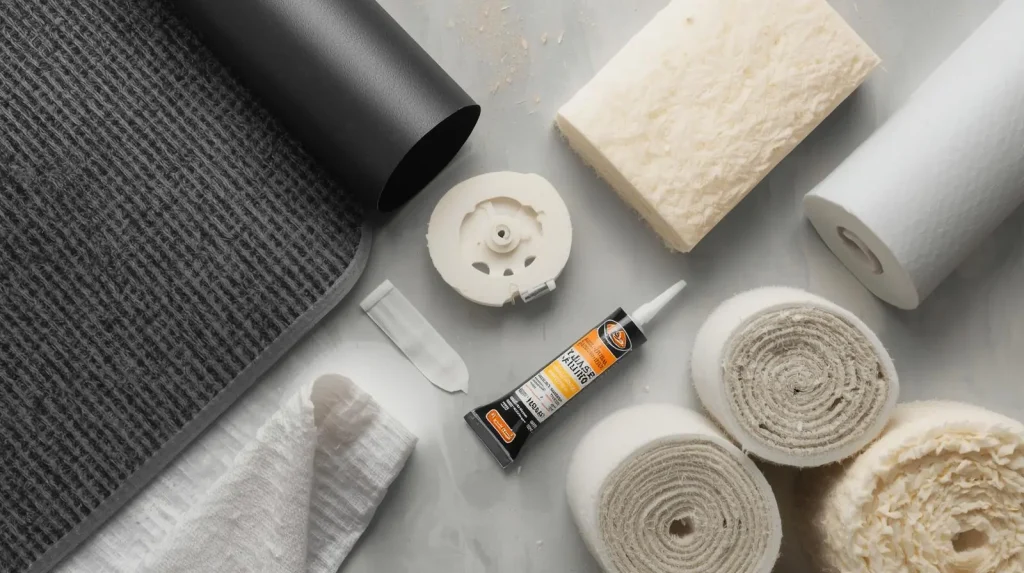
Common Studio Soundproofing Materials
Selecting the right materials is a crucial step in reducing noise.
- Mass Loaded Vinyl (MLV): Flexible yet dense material that blocks airborne noise.
- Acoustic Caulk: Seals cracks and prevents sound leaks.
- Green Glue Compound: Converts sound energy into heat, reducing transmission between drywall layers.
- Mineral Wool or Fiberglass Insulation: Fills wall cavities and absorbs sound.
- Soundproof Doors and Windows: Designed with multiple layers of glass and seals.
Each of these materials serves a different purpose, and combining them often produces the best results.
Studio Soundproofing for Walls
Walls are one of the largest surfaces in a studio and often the biggest source of sound transmission.
Double Stud Walls
Building two separate wall frames with an air gap in between creates excellent isolation. This prevents vibrations from traveling directly through the structure.
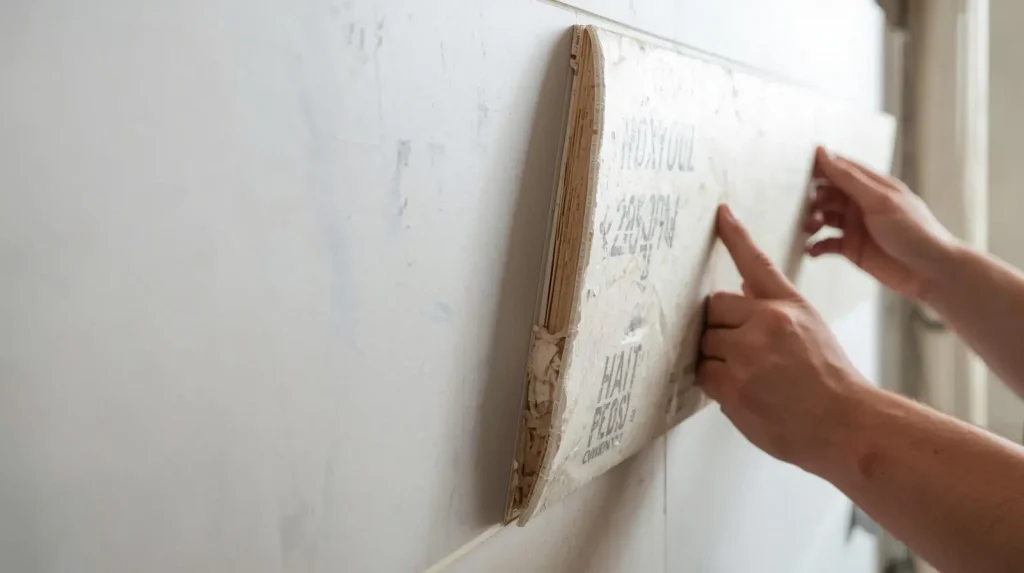
Adding Mass with Drywall
Installing multiple layers of drywall with Green Glue sandwiched in between significantly improves sound isolation.
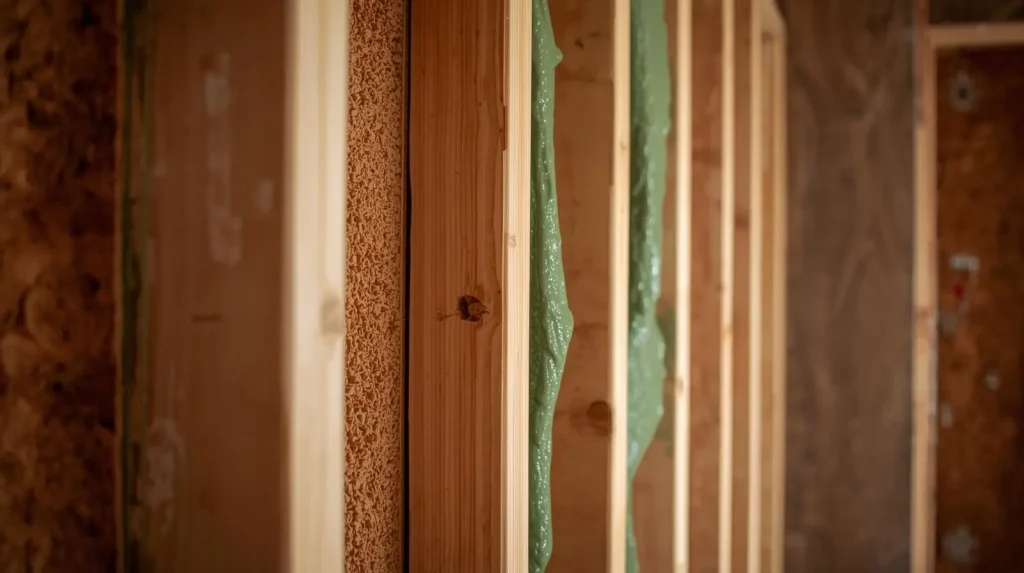
Insulating Cavities
Filling the wall cavities with mineral wool or fiberglass prevents resonance and absorbs noise.
Soundproofing Ceilings and Floors
Ceilings
- Install resilient channels or sound isolation clips to decouple the ceiling from the joists.
- Add extra layers of drywall with damping compounds.
- Consider acoustic ceiling tiles for additional absorption.
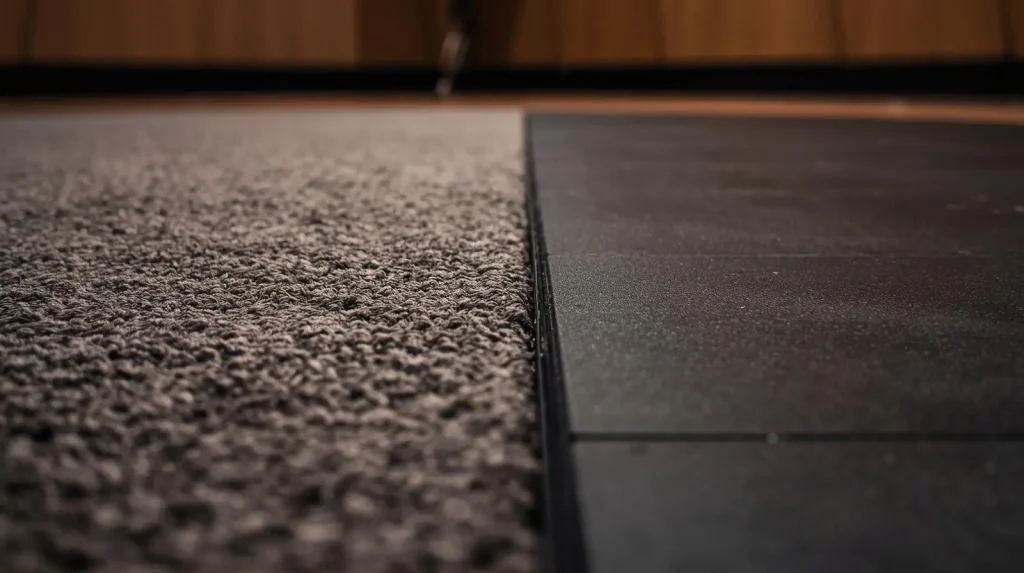
Floors
- Floating floors are highly effective but more complex to build.
- Carpets and thick rugs provide some absorption and reduce footstep noise.
- Use underlayment materials like rubber mats to block impact sounds.
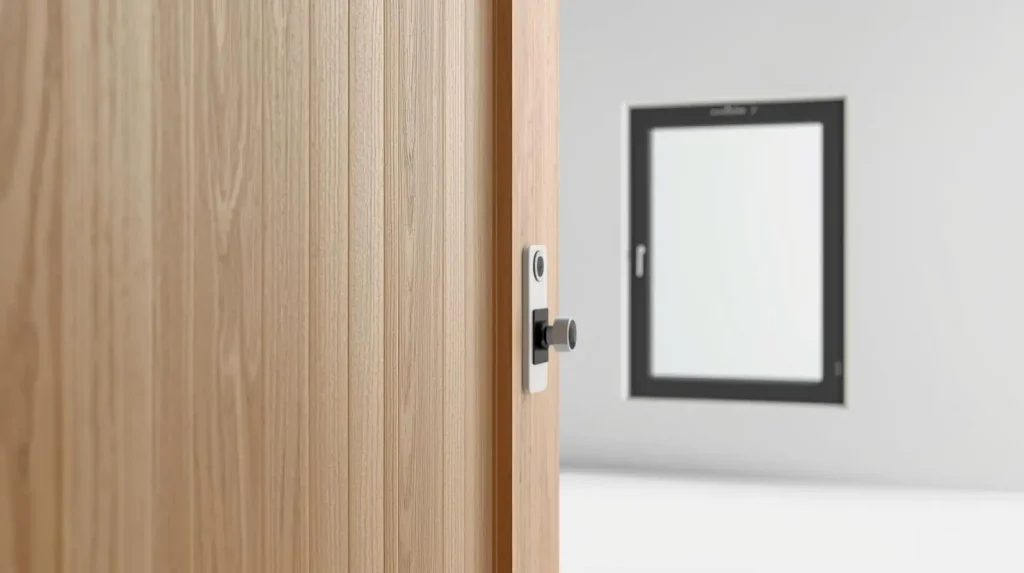
Studio Doors and Windows
Doors and windows are usually weak points in soundproofing because they have less mass and more gaps.
- Solid Core Doors: Heavier than hollow doors and much better at blocking noise.
- Door Seals and Sweeps: Close the gaps around the edges.
- Acoustic Windows: Double or triple glazed with laminated glass.
- Window Plugs: Removable inserts filled with insulation for temporary setups.
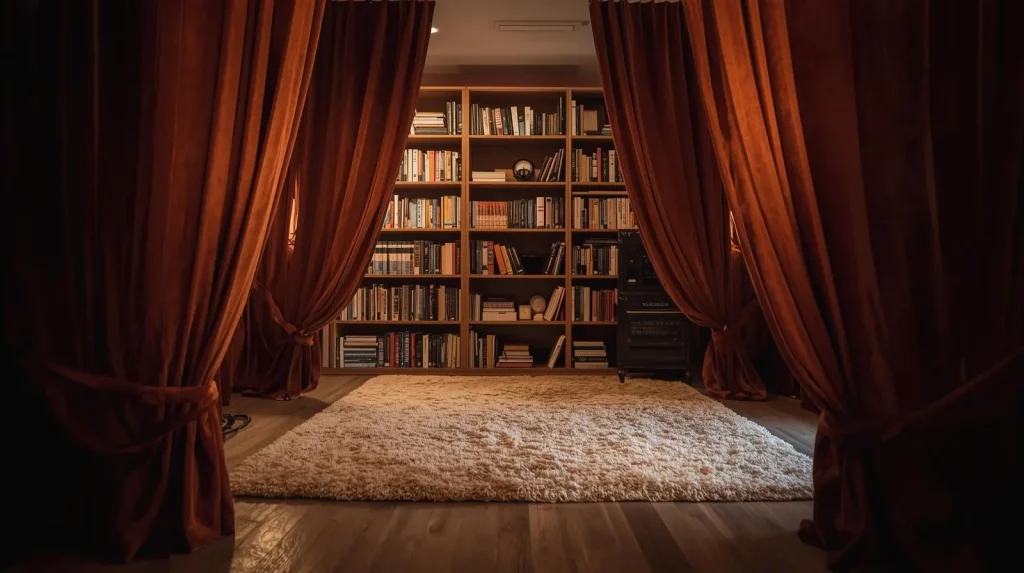
Affordable Soundproofing Tips for Home Studios
Not every studio requires professional-level construction. Many home studio owners can improve isolation with budget-friendly methods.
- Rearrange your studio away from shared walls.
- Use heavy curtains or moving blankets to cover doors and windows.
- Add bookshelves or furniture to increase mass on shared walls.
- Place a thick rug or carpet pad under your recording area.
- Seal small cracks with weatherstripping or acoustic caulk.
These solutions may not provide complete isolation but can make a noticeable difference for home setups.
Studio Soundproofing Mistakes to Avoid
Many creators waste time and money by overlooking key aspects of soundproofing. Here are the most common mistakes:
- Using acoustic foam for soundproofing (foam is for acoustic treatment, not isolation).
- Ignoring doors and windows, which often let in the most noise.
- Forgetting to seal small gaps and cracks.
- Assuming one layer of drywall will stop all noise.
- Not accounting for ventilation and HVAC sound leaks.
Avoiding these pitfalls ensures your investment pays off.
The Difference Between Soundproofing and Acoustic Treatment
While both are important, soundproofing and acoustic treatment solve different problems.
- Soundproofing: Prevents sound from entering or leaving the room.
- Acoustic Treatment: Improves clarity, reduces echoes, and balances frequency response.
A well-soundproofed studio still needs proper acoustic treatment to achieve the best possible sound for recording and mixing.
Choosing the Right Studio Soundproofing Approach
The right approach depends on your goals, budget, and location.
- For professional studios: A full build-out with double walls, floating floors, and isolation systems is ideal.
- For home studios: Focus on sealing gaps, adding mass with drywall, and using affordable absorption methods.
- For rental spaces: Temporary solutions like window plugs, door seals, and movable panels are practical and reversible.
Conclusion: Build a Studio That Works for You
Studio soundproofing is one of the smartest investments you can make in your creative journey. By adding mass, sealing gaps, decoupling structures, and using the right materials, you can block unwanted noise and create a professional-grade space.
Whether you are recording music, producing podcasts, or mixing film audio, a quiet and controlled environment ensures the best results. Start with the basics, avoid common mistakes, and scale your efforts as your needs grow.
Ready to upgrade your sound? Begin with one room, one wall, or one window at a time. With the right approach, you can transform any space into a soundproof studio that enhances your creativity and professionalism.